Before I go headlong into my usual ramblings and segues, if you’ve popped on just to find out about my DIY library ladder, then hello and welcome – I’m not offended that you don’t want to read my witty repartee, no honestly! Just scroll on down a few paragraphs and you’ll find what you need just underneath my fun poll. If you’ve got a little more time today, then read on.
I promised you this little bonus post mid-week, but I did say it was going to be a very busy and stressful old time and by Jiminy it has been! I am beyond relieved it’s Friday and now, luckily, we have a restful time ahead with not much planned. Shortly, we will be heading across the pond for our annual pilgrimage to Key West. I wonder, is this something you would be interested in? I know I’m mainly about interiors and gardens, but there’s a little more to me than that. I was thinking something about the architecture, perhaps also the beautiful place where we stay with all our friends? What do you think? Yay or nay?
Don’t worry, my usual Sunday posts will be continuing while I am away. On my return I have some big news to share with you all. I assured you that I would always announce things here first and I intend to fulfill my promise. Right, let’s get on with the library ladder business.
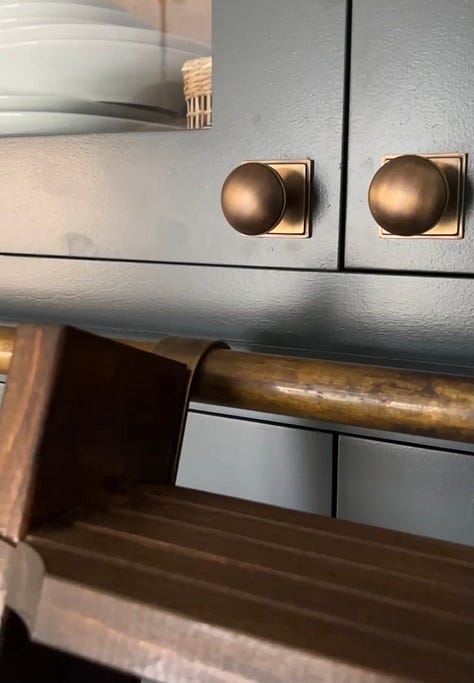

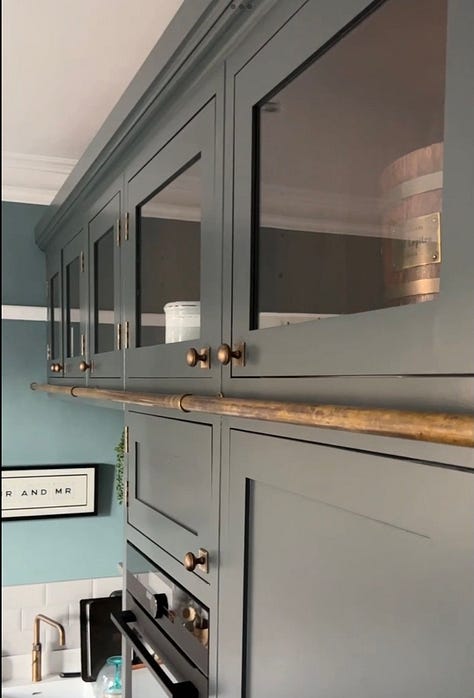
Ok, here’s the DIY library ladder info…
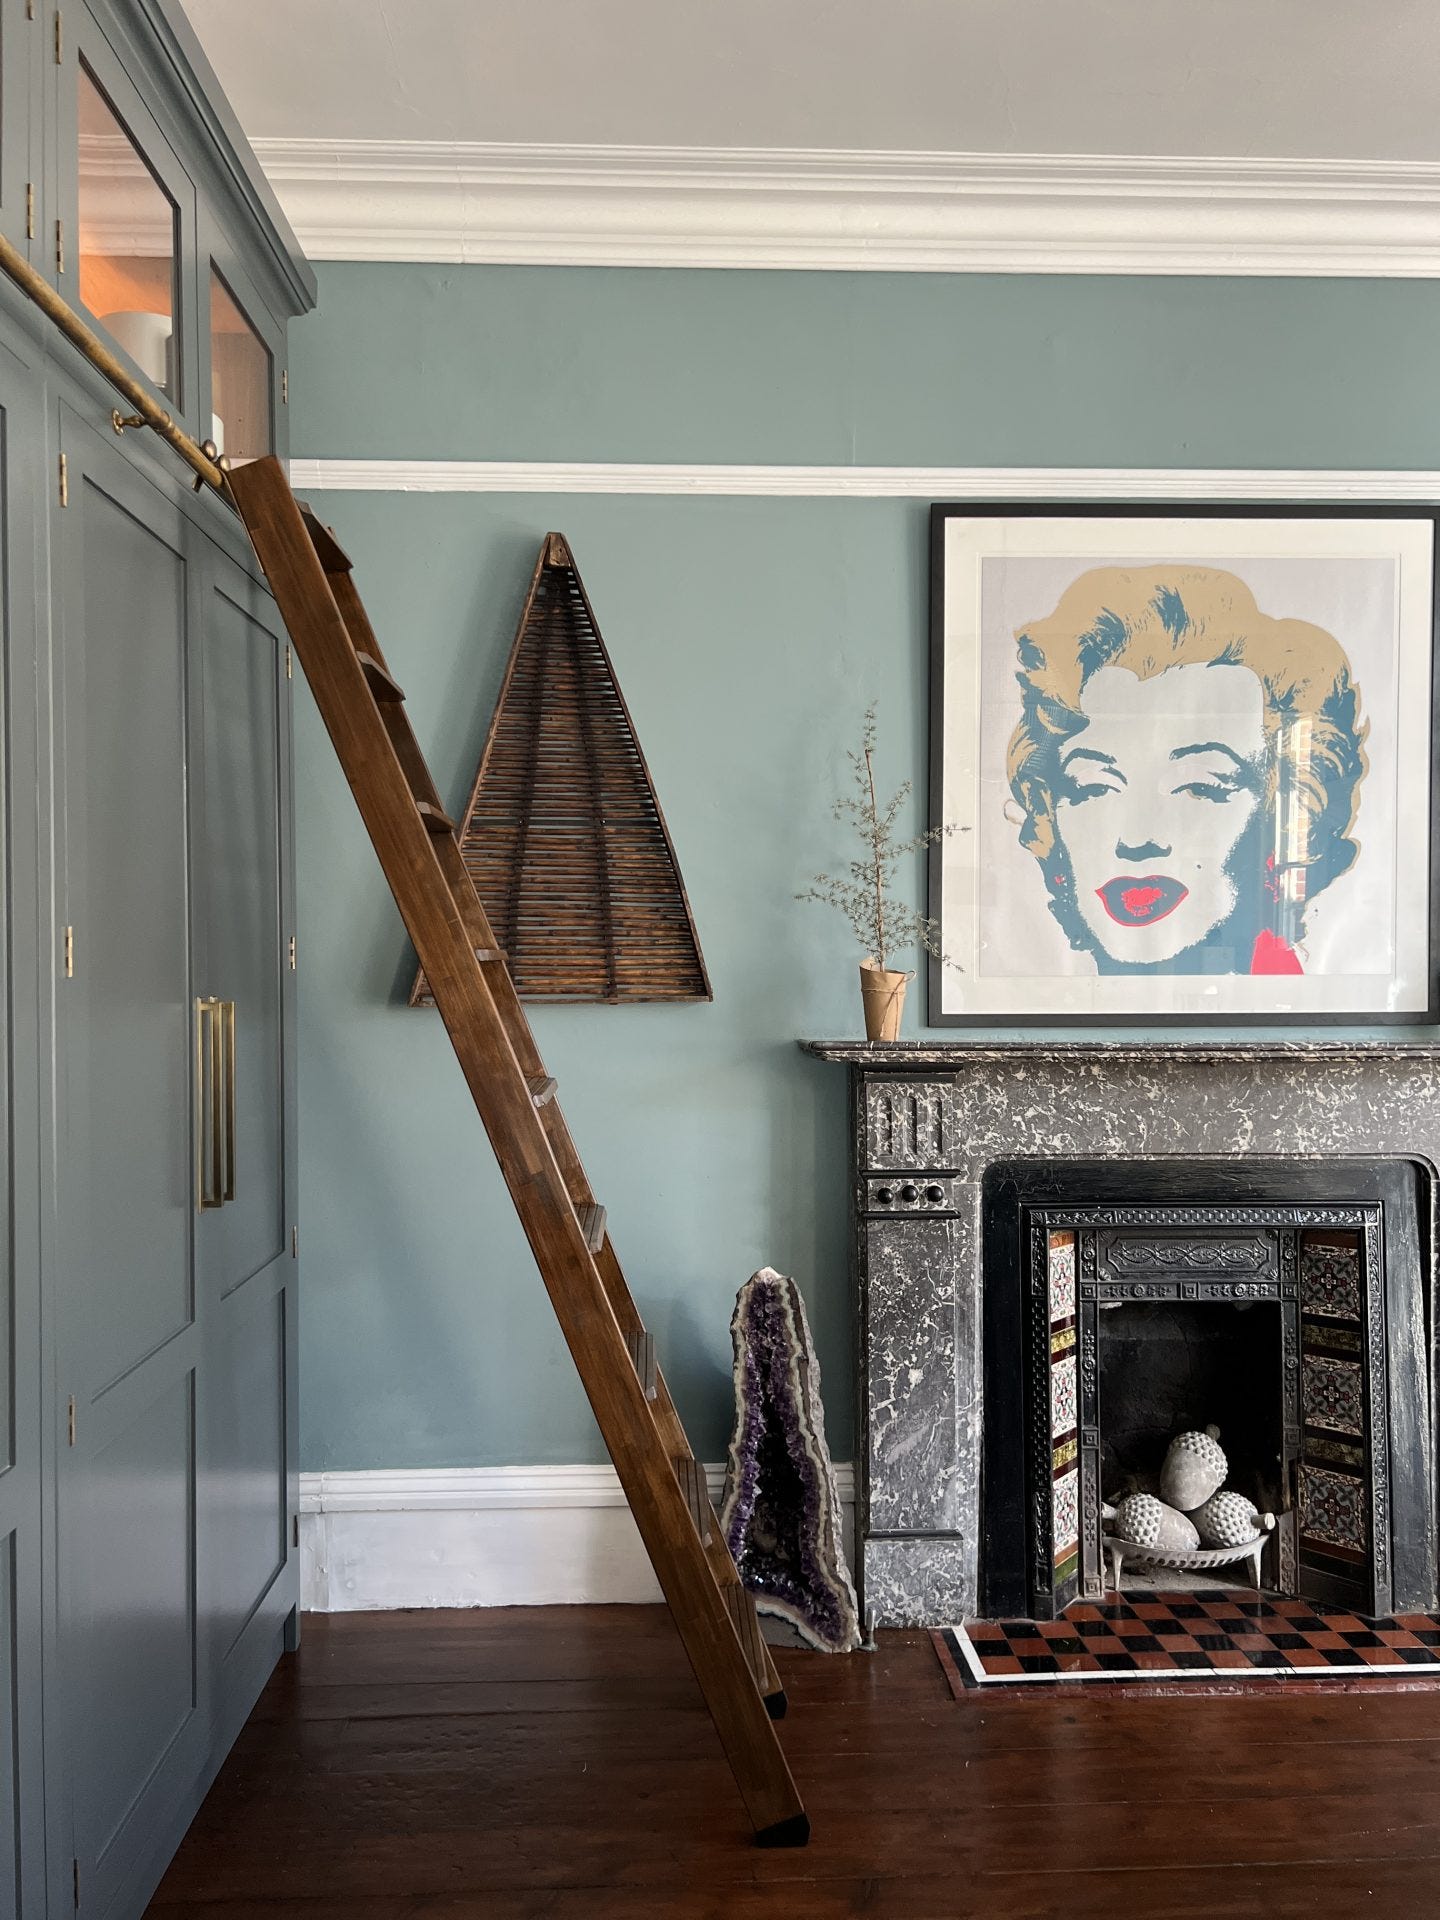
I have always dreamt of having a kitchen with top glass cupboards and a library ladder and rail to be able to access them. I’d seen them plenty of times in American east coast homes. If you’ve followed me for a while, then you’ll know I have a penchant for traditional weatherboard houses and their simple shaker kitchens.
When I first started looking into library ladders for our kitchen I was absolutely gobsmacked at the cost. Some companies were charging in excess of £2.5k for a ladder and a rail! Are they off their trolley? Who the hell pays that kind of money? There must be some mistake. Alas, no my friends. It seems it’s a prized item not dissimilar to the costly treasured pineapple of the 1700s!
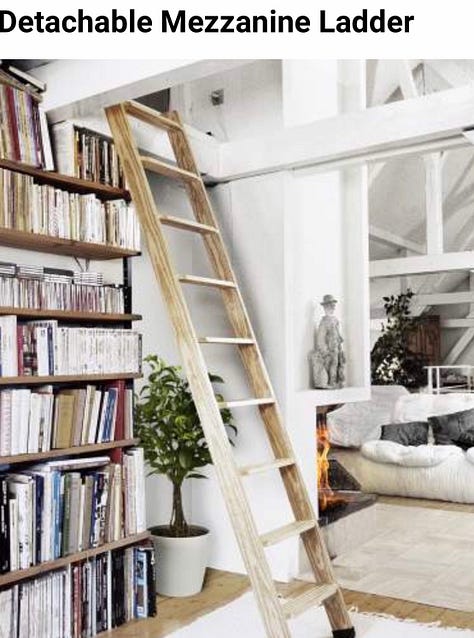

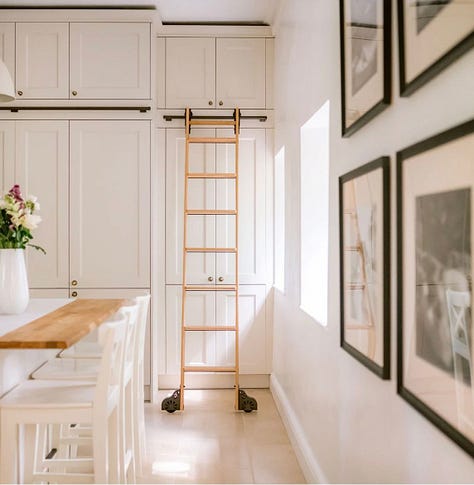
The results of my research
As there was no way on god’s earth I was going to get my mitts on the step ladder equivalent of the Crown Jewels, I started researching the components to make my own DIY library ladder. You can buy rolling kits on Etsy for less than £300 for a 16ft kit, so surely the hugely exaggerated costs of the other companies can’t be in the pole, or the ladder, surely?
We didn’t need ours to roll, as most of the time the ladder would be in its cubby hole by the side of the tall units. So, that immediately cut the cost a lot and meant that I could start looking at curtain pole and hand rail companies, which sold the components for a rail individually.
I bought a mezzanine ladder from BPS Access Solutions – www.laddersandscaffoldtowers.co.uk then I cut it down to size. It’s already angled at 70 degrees for the perfect fit. It came with cutting instructions to guide you. We needed eight treads and I think it arrived with twelve. I stained it down to the colour we wanted using leftover dark Jacobean Oak stain and a clear varnish. This company also sells them in a white or black finish too if you prefer that.
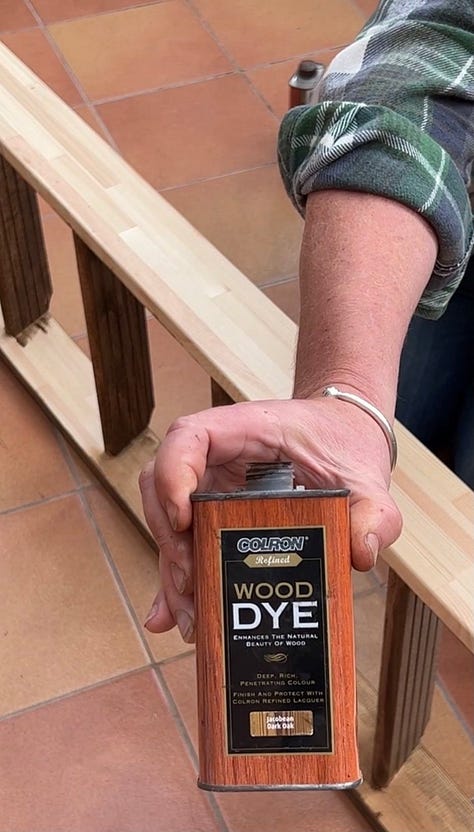
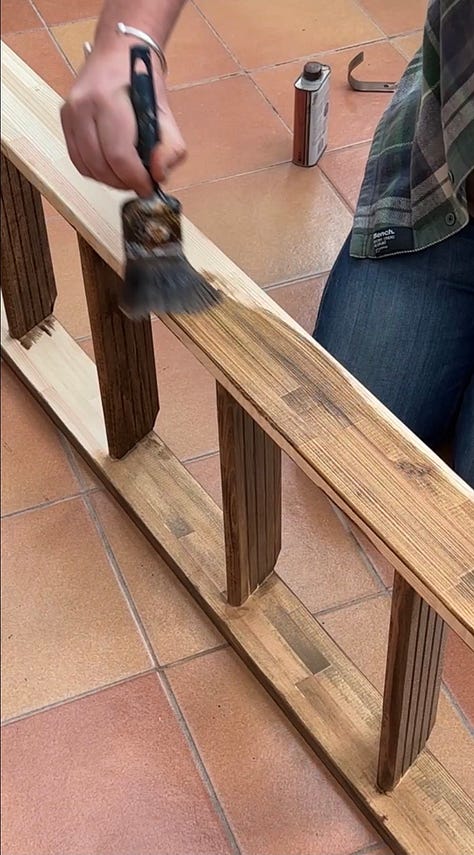
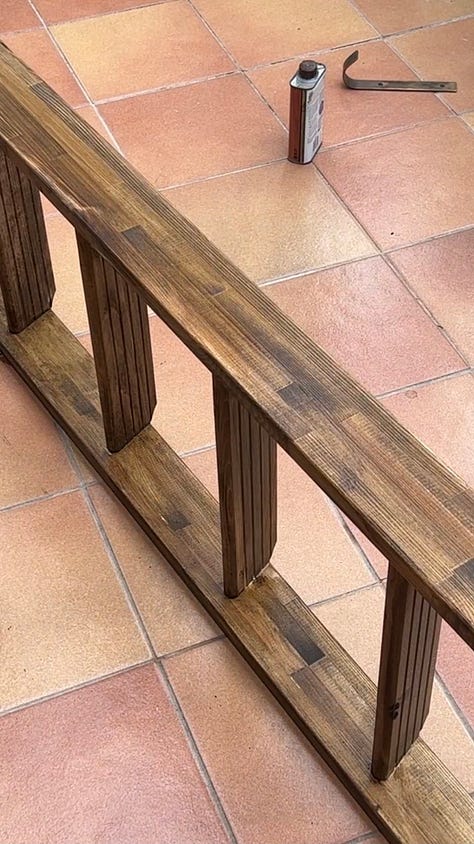
Lengthy poles…
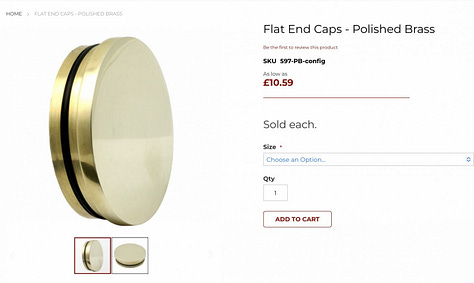
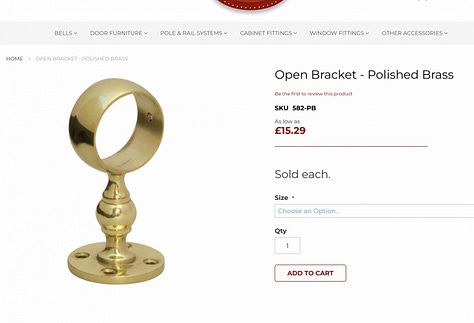
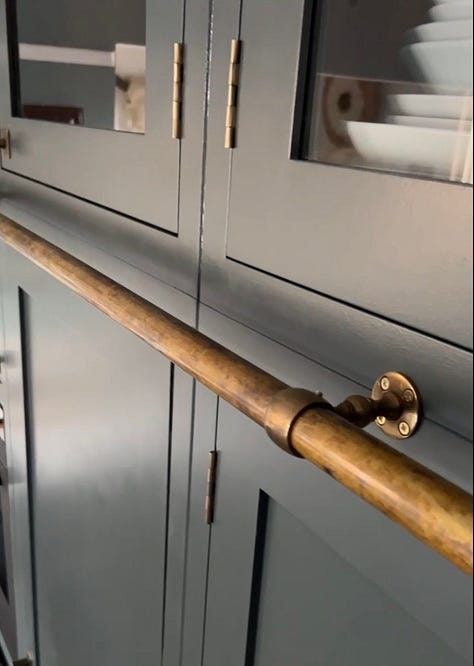
I then bought 2 lengths of 25mm hollow unlacquered brass pole from House of Brass – www.houseofbrass.co.uk – I called and ordered as they can cut the lengths to the size you need. I used five of their solid unlacquered brass open brackets, with one to hide the join of the two poles. We then used two of their brass end caps. Everything must be unlacquered if you want to tone down the shiny brass look, otherwise the ageing process won’t work. You could sand the lacquer off, but ain’t nobody got time for that!
I aged the brass to match our beautiful knobs and handles from Hendel & Hendel by buying an ageing solution from Amazon – now this was tricky. Make sure sure buy the one that says brown, not black, or verdigris. You’ve probably seen ageing solutions on Instagram using vinegar and whatnot and then baking the things you are ageing. This might have worked for the smaller components, but I’d have struggled to get a lengthy pole in my oven. Although, it wouldn’t be the first time I’d tried!
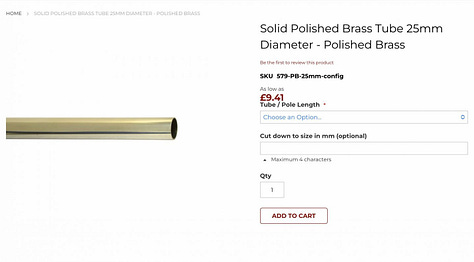
Ageing process
Water the ageing solution down ten parts water and one part solution. You supposedly can then either soak the brass components in a bath of the solution, or keep brushing it on. Brushing it on didn’t work very well at all, so I used a plastic container and immersed the smaller components in that for a few seconds each time to check the colour the brass was going until I reached the desired effect.
For the poles which were 2.1m and 2.3m long, I created a bath using a length of gutter and put and end cap on either end. I then placed the gutter on the patio floor, making sure it was secure by using bricks to stop it from rolling. We already had these, but they are relatively inexpensive from hardware stores. Finally, I added the diluted solution to create the ageing bath and placed them in it until they turned the right colour. Make sure you wash the solution off thoroughly afterwards, otherwise it will keep reacting with the metal.


The ladder came with two black rubber feet to stop it scratching your floor and also two hooks, but they were stainless steel. So, I ordered two brass hooks from House of brass to finish it off. All in all the whole project cost just under £600. Absolute bargain!
So, there you have it. I hope that this proves useful and at least saves you time having to research everything. I’d love to see your DIY library ladders when they’re done! Until next time, thank you for reading and well done if you managed to get to the end of this post. See you all again this Sunday for the final instalment of my kitchen design course. It’s all about the finish and I’ll be opening up my little black book to tell you where I sourced everything.



Full of wit, friendliness and a generous & great money-saving project to boot. Love it. I’ve always so enjoyed your Key West pictures; you take amazing photos, and I very much look forward to seeing more in the future. I wish I had your writing skills to tell you properly what a gift and a joy you are. Wishing you a wonderful time away.
P.S. Not sure why, but I have a feeling your news will be a new reno or home move…you’re always looking to make the most of every moment, while thinking of the future. Can hardly wait for the news…I’m so nosey!
Where the ladder rail meets the cabinets, did you use any anchoring or reinforcements for additional weight on the cabinets or is that unnecessary?