

How To Make Your Own Candles
A Beginner’s Guide To Faffing With Wax

Welcome to H&H, or Home & Hort, to use its full rather highfalutin title. If you love a mix of interiors, gardening, DIY, lifestyle, vintage finds, crafts, seasonal decor, and like a good old honest chat, a few mistakes, and a giggle every now again, then you’re in the right place.
This is a FREE post, 3/4 of them are for the brilliant people who pay for gas. Join our gang and keep H&H alive and kicking!

As Thursday’s post was quite a long one, I thought I’d throw out a short and snappy (I say that, but it’s actually 1300 words - can’t help myself) ‘how to’ guide on candles today. Who doesn’t love a little crafting when the weather’s awful outside?
Although I consider myself a bit of a candle connoisseur (see my 2025 candle guide here), and certainly know my stuff on what to look for when buying them, I am an absolute beginner at making them myself. So, this is very much a novice guide. I made candles for the first time this week (so much fun), so we’re all in this together.
I’m actually in the process of putting together my 2026 candle guide, and every candle, room spray and diffuser (yes, I’m upping it this year) will have been tested by me personally. I started this process in June, so that give’s you an idea. But, while you’re waiting for that, why not make a few of your own?

Hidden treasure
Earlier this year I dug up treasure whilst taming the area of our garden where Dorothy, our gazebo is now nestled next to a shady flower bed. Btw - Dorothy needs to be controlled. She’s threatening to take over this newsletter.
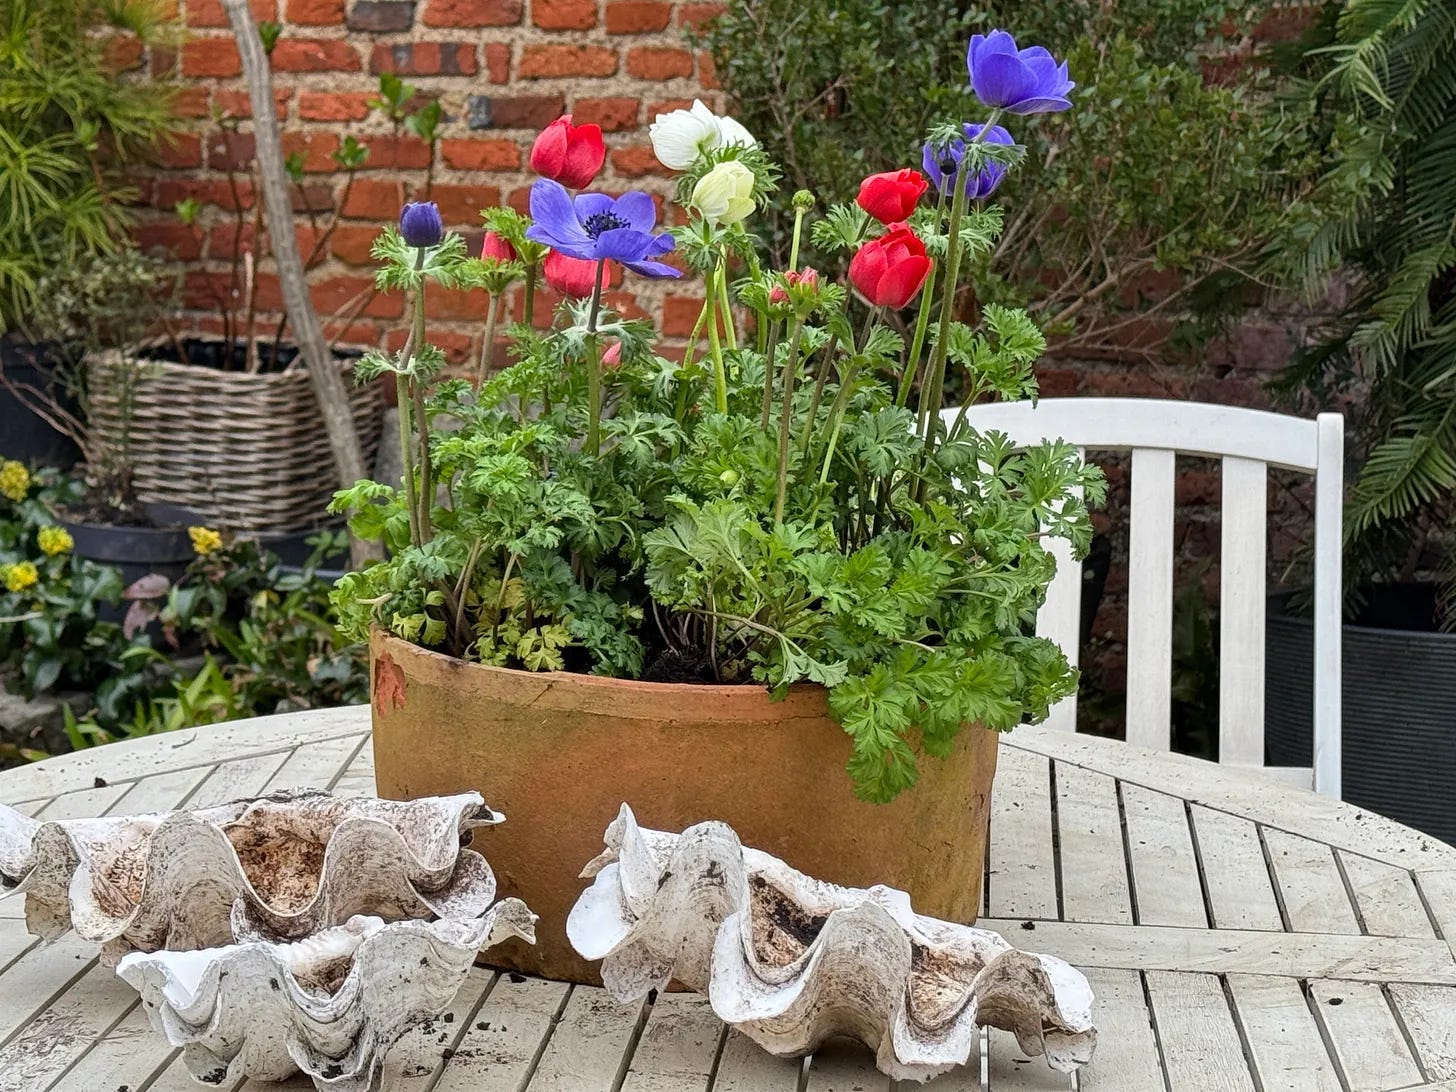
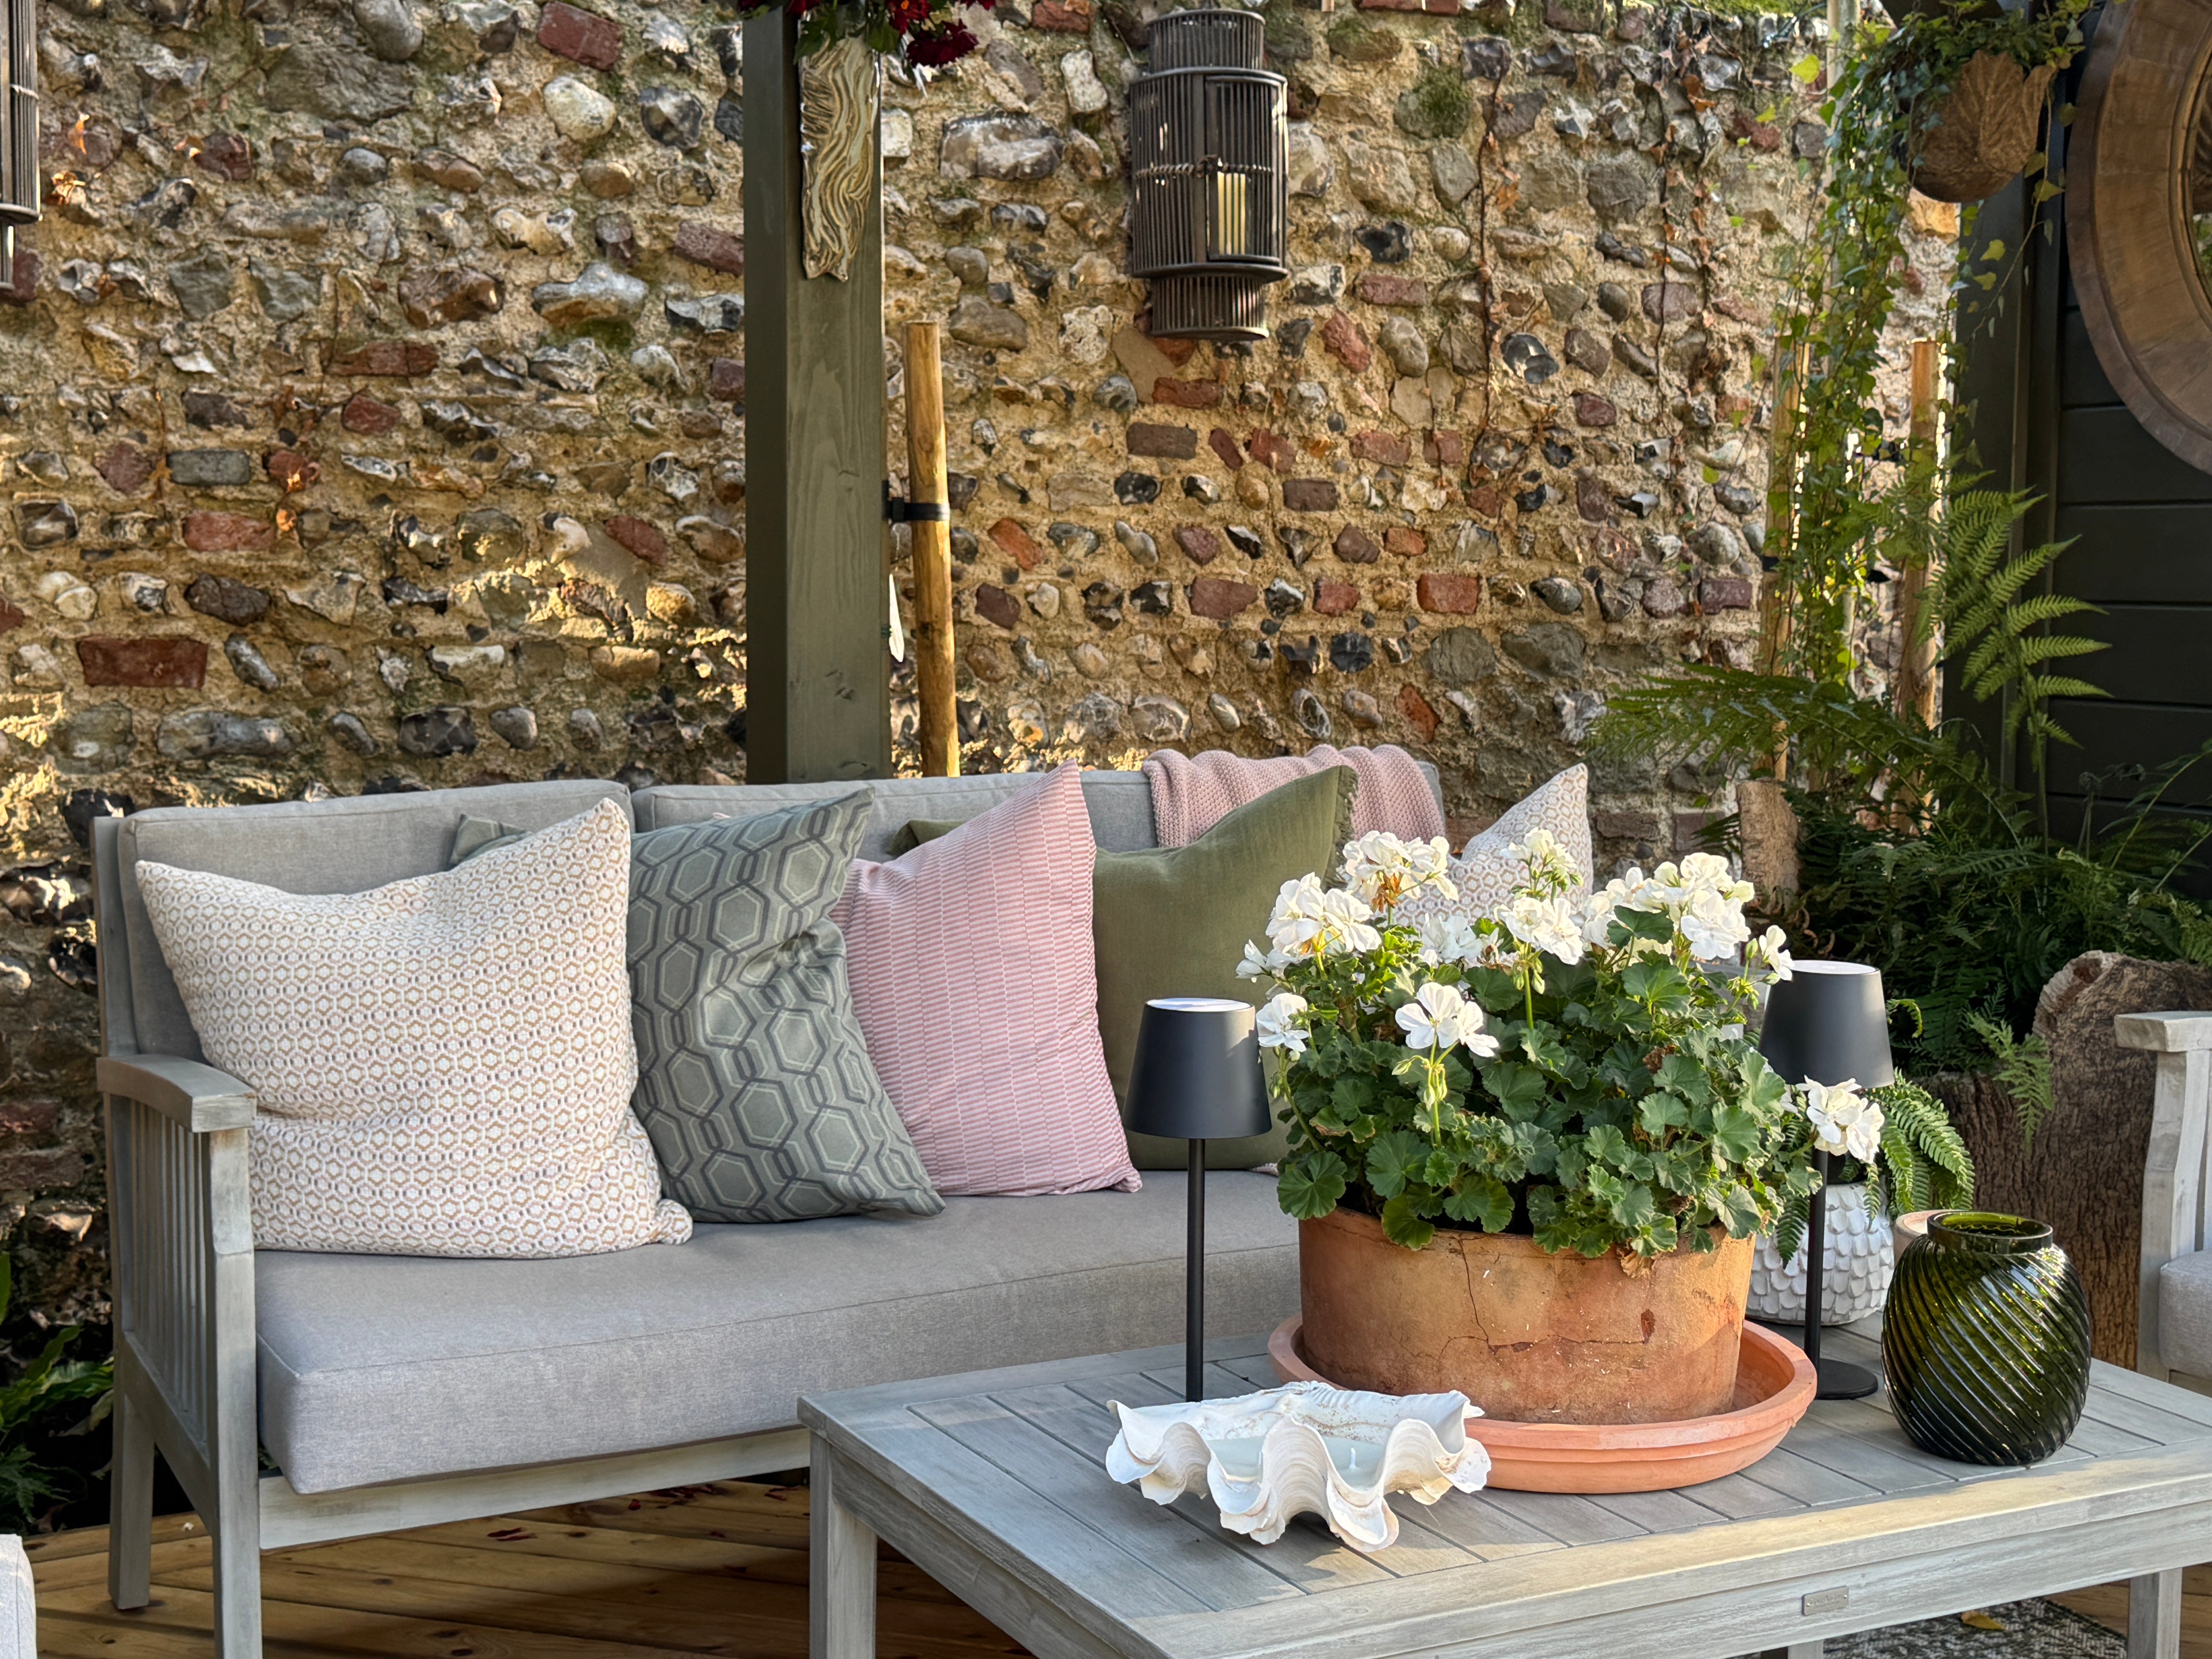
Who’d have thought that as well as unearthing enough stone slabs and boulders enough to create a mega rockery, I would also find three large clam shells?
It turns out the two larger ones are worth nearly £300 each, Antiques Roadshow here I come, so I cleaned them up (put them in the dishwasher) and started thinking about what I could use them for.
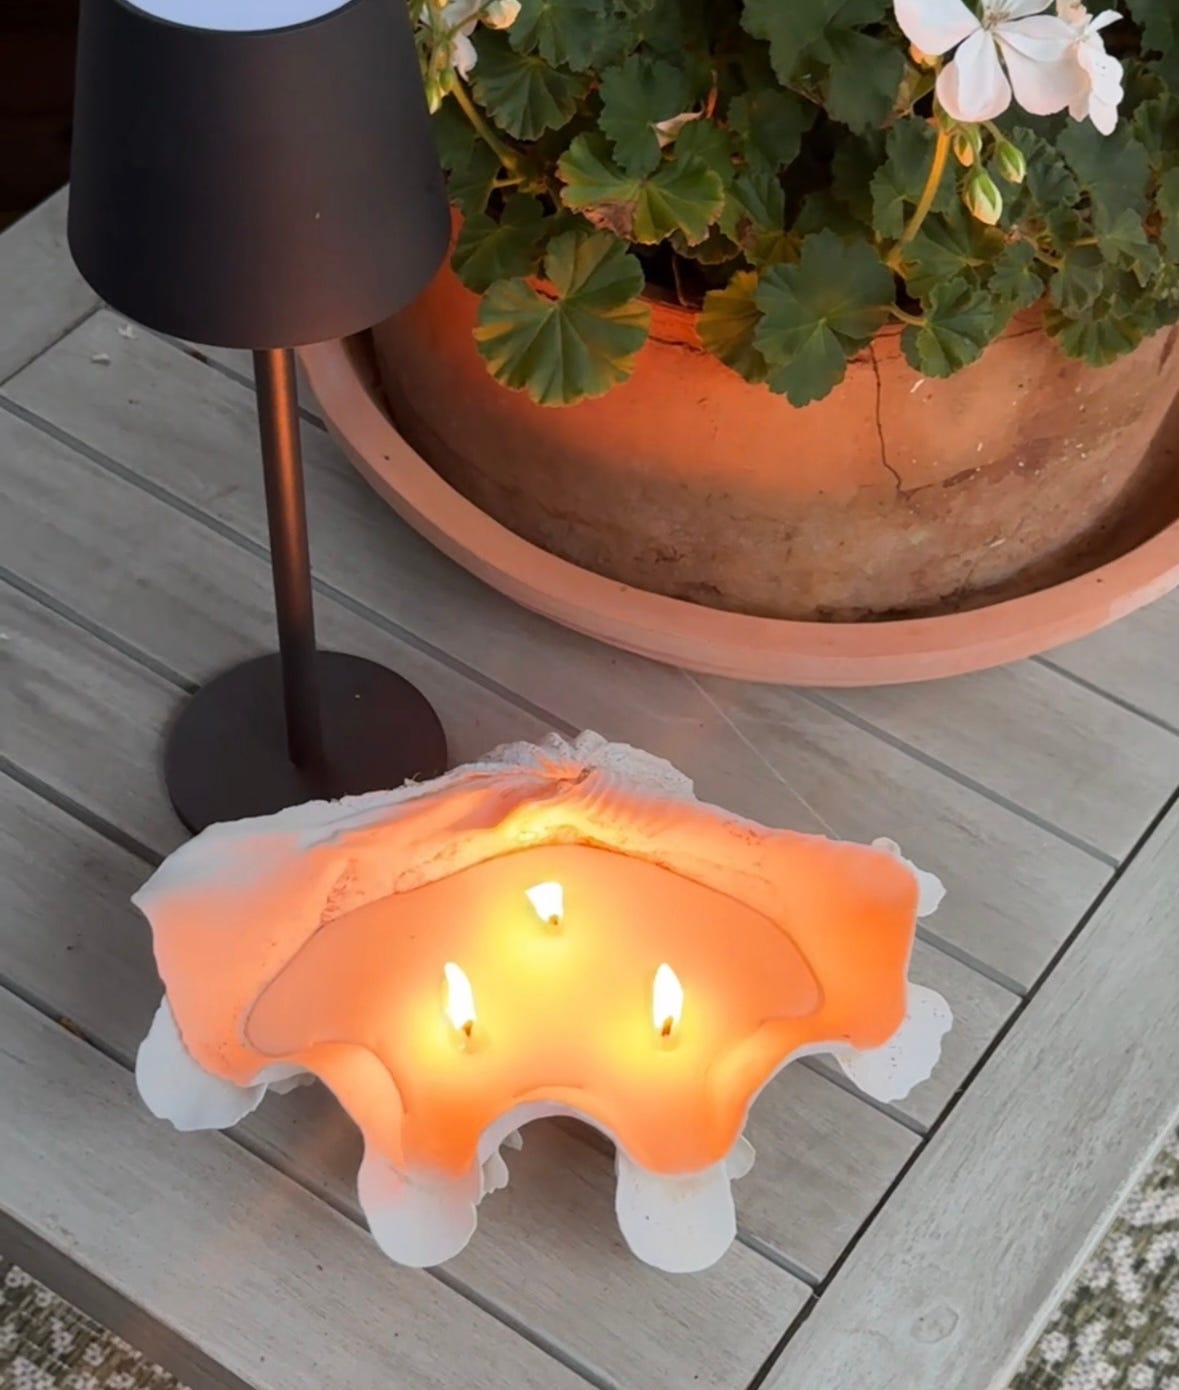
I decided two should just be ornamental bowls (currently on Mounjaro, but considering mounds of Hershey’s Kisses), but the third I have turned into the perfect receptacle for my first ever homemade candle. It’s scented too - lemon verbena - get me!
What to expect
Professional candle makers spend inordinate amounts of time and money on research and testing. One of my favourite brands, Lower Lodge Candles, prides itself on the extensive process they go through to make sure that the burn is perfect, the fragrance throw is heady and strong, and that all the ingredients are safe and non-carcinogenic. You’d be surprised at how many candles are bad for your health.
Just the thickness of the wick, what it’s made from, its placement in the jar, and the exact recipe of the wax ratio to fragrance or essential oil, can make an enormous difference to the enjoyment and health benefits we get.
What that means is that none of us are going to be candle-making masters any time soon. But, that doesn’t mean we can’t have a great deal of fun, and with a bit of know-how, make our own pretty damn good candles with a decent burn.
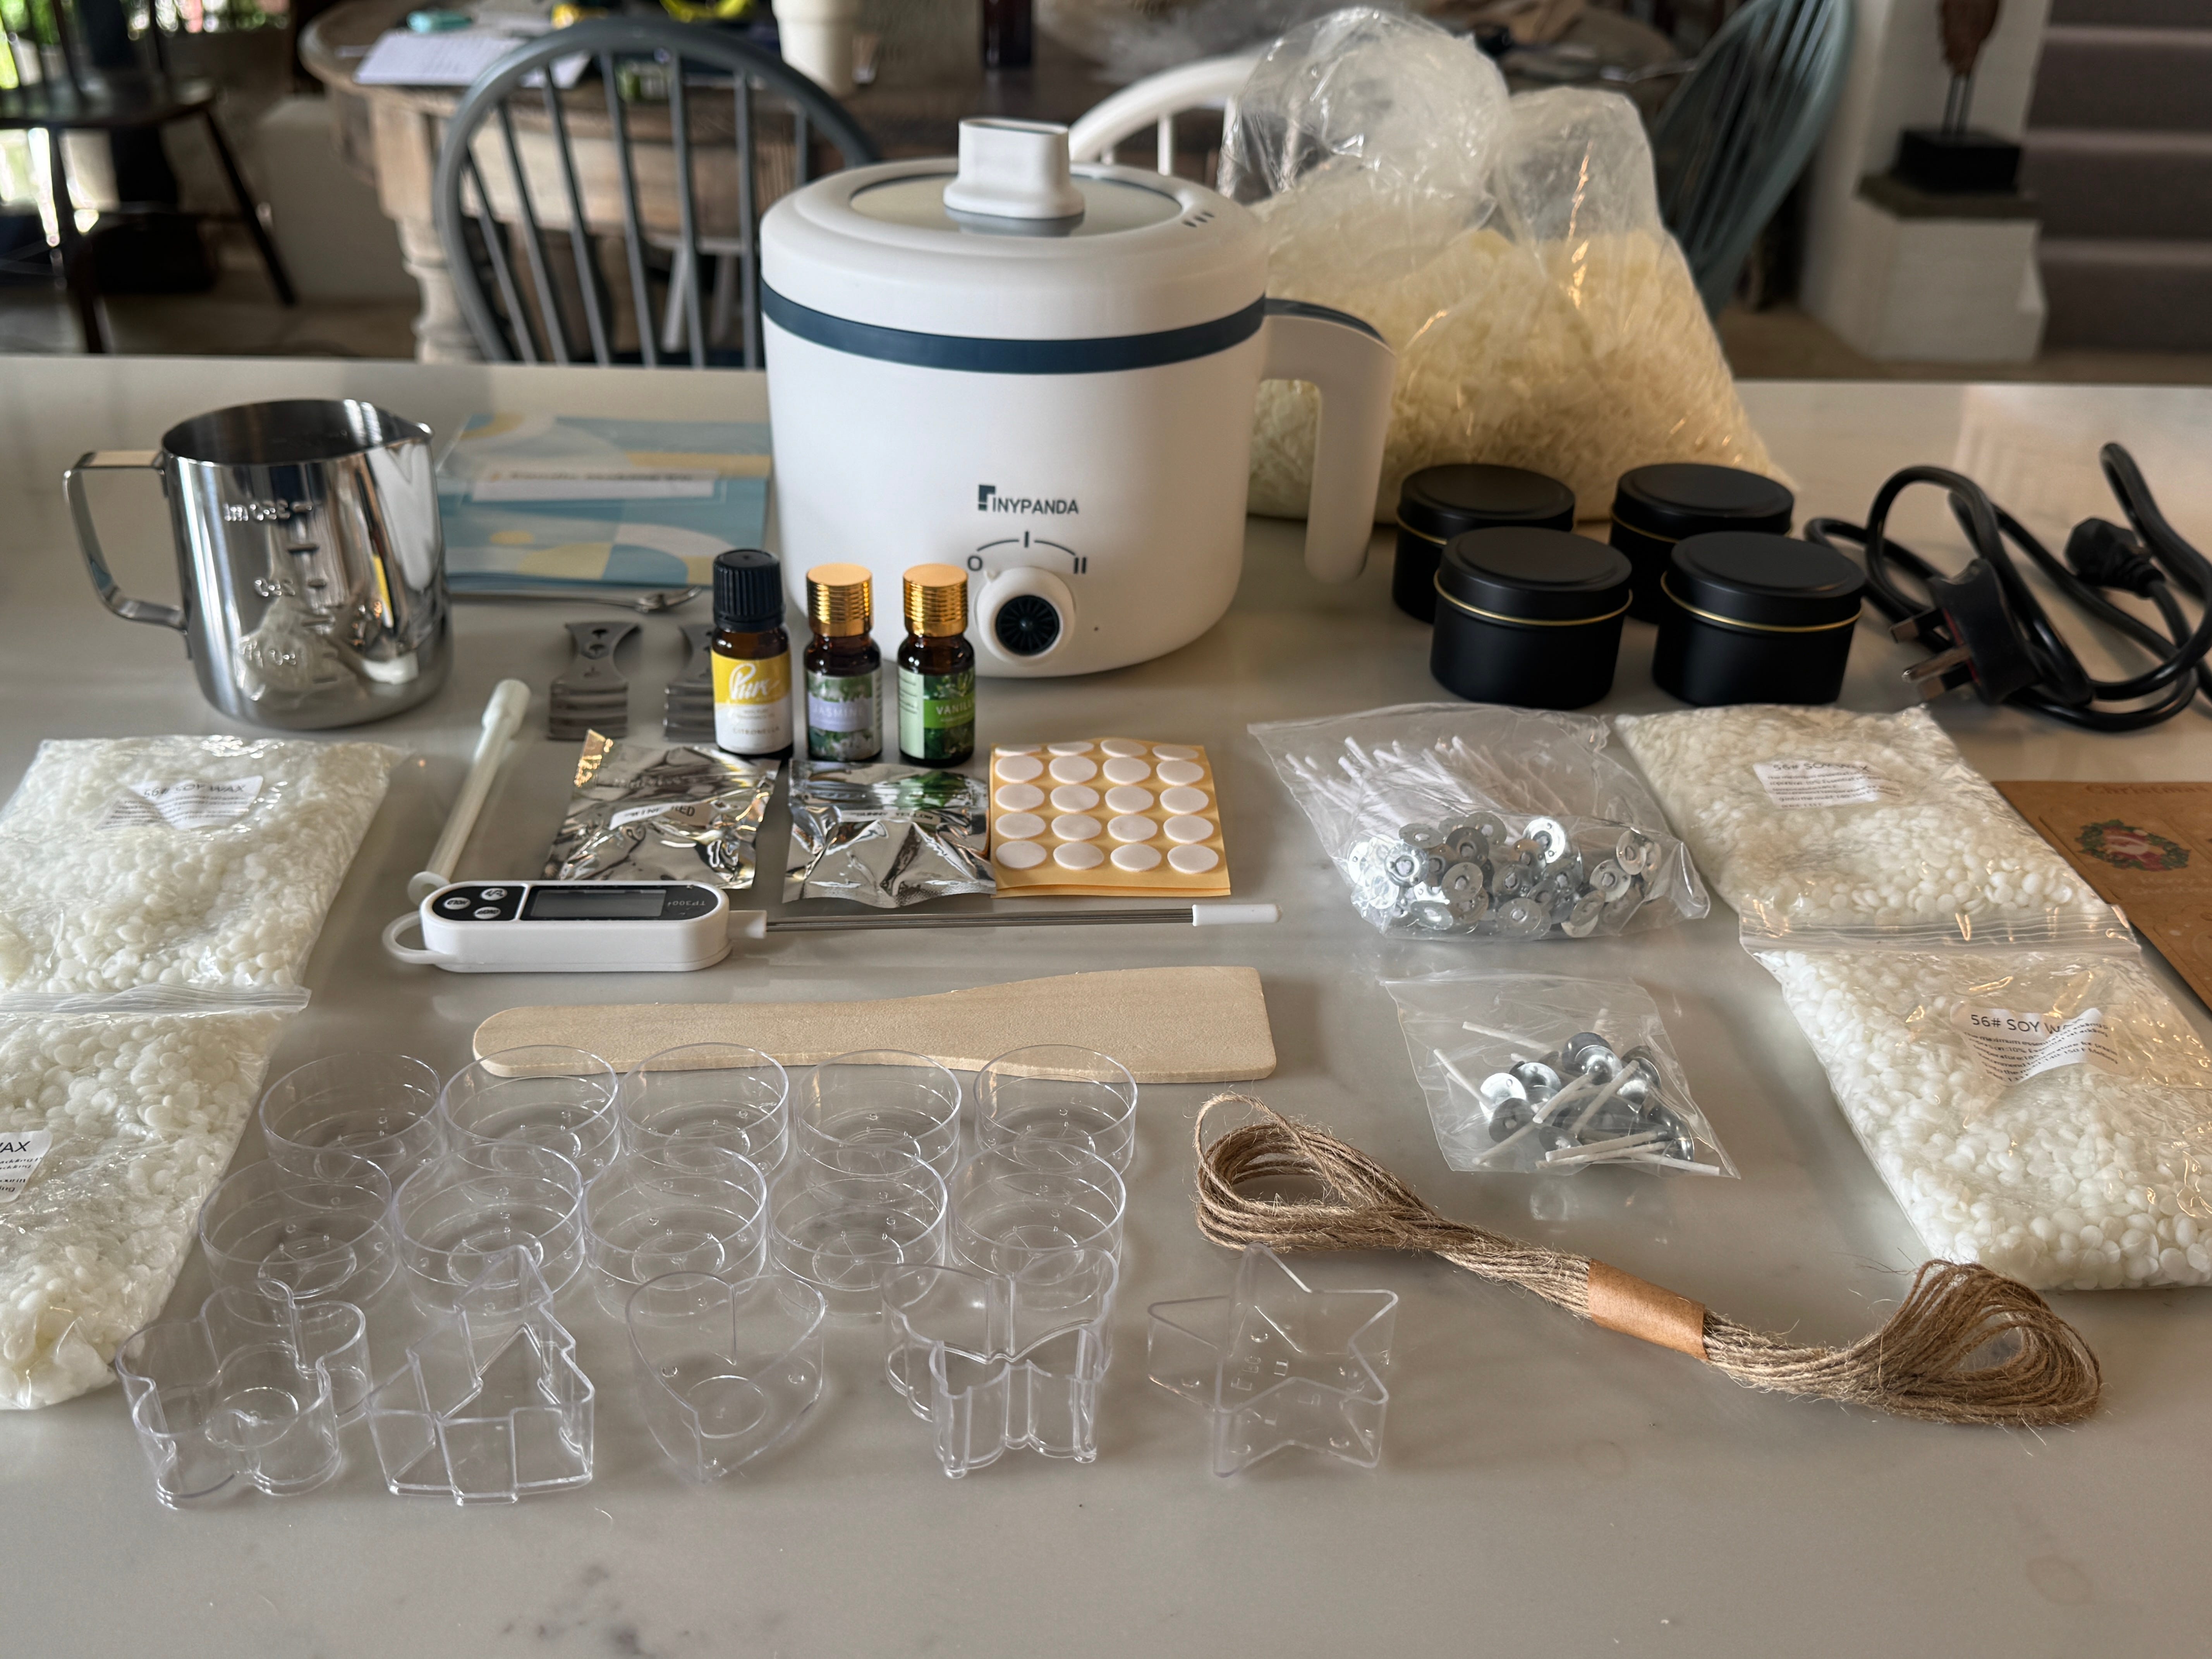
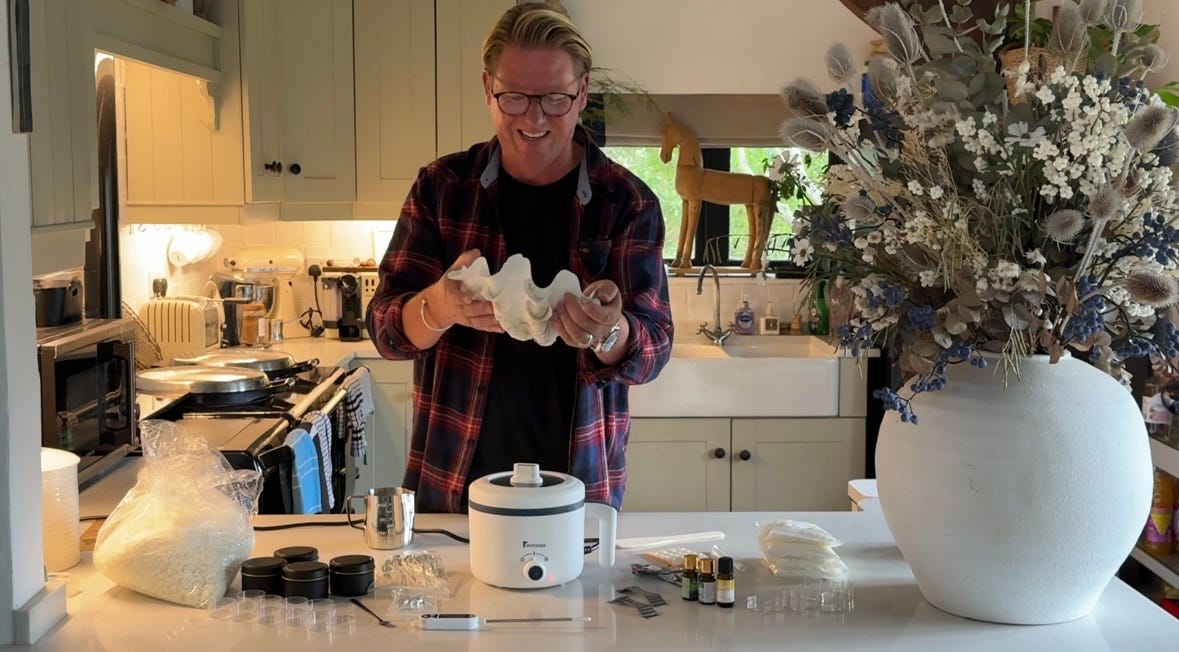
What you’ll need
The easiest way to start on your candle-making journey is to buy a kit like the one above. I was very lazy and bought mine on Amazon, along with another 1.8kg of soy wax flakes. But, if you’d prefer to support independent brands then try this one, or Luxury London Candle Supplies which has a great starter kit. They even do a bumper candle business starter kit if you have aspirations of being the next Diptique.
They have a great range of waxes you can buy in bulk too. Although, please don’t buy the paraffin-based one, it throws off all sorts of nasties, which I talked about in this post. It’s the reason I never buy Yankee Candles. Soy wax is a great medium to start with and because of its lower melting point, it burns for longer and more evenly.
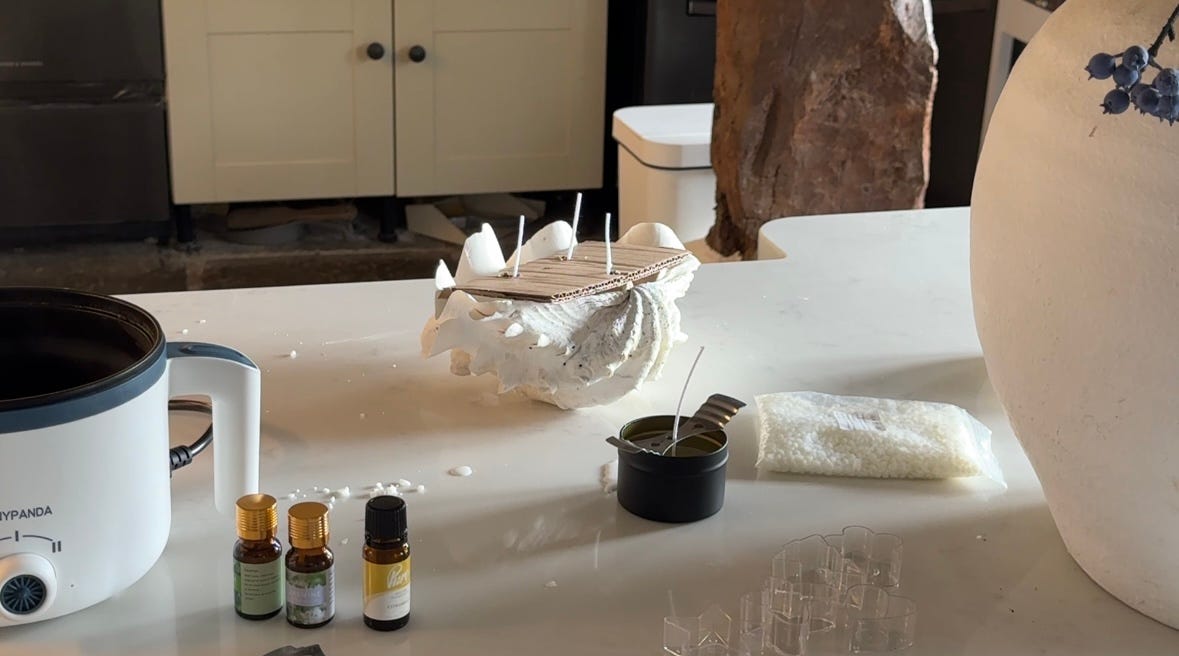
The kit will come with metal wick holders for keeping the wick in place once you start to pour the wax. These are designed for small round receptacles nothing like a clam shell. If you’re using a larger vessel or something weird like I am, then you might need to fashion your own. I made my three-wick holder out of a scrap of cardboard. I made it too large to pour the wax, hence my nightmare once the wicks started melting.
How to make a candle
Choose your vessel. Don’t go mad, the wax has to fit inside your melting pot.
Get your kit out (no not that kit, you saucy devil!) and place it pleasingly on a flat surface (if you have your boobs nestled on the kitchen worktop then you’ve got the wrong idea). Make sure you’re near a power socket. A kitchen worktop is perfect.
Channel your inner Jo Malone, perhaps put on some plinky-plonky music. I found Enya made me want to slit my throat, but the soundtrack to The Mission, got me in the mood.
Using a measuring jug, pour water into said vessel leaving a good 1-2cm gap before the rim (we’re not doing rim jokes today). Make sure you know how much water was in the jug in the first place, obvs (let’s say it was 750ml), and then subtract the remaining water in the jug, if any, to calculate how many milliliters (ml) you have used. Just for fun, let’s say you used 500ml.
Soy wax is denser than water, so you need to convert your receptacle’s water volume into wax weight. This is so clever: Just multiply your ml by 0.9, so 500ml x 0.9 is 450g of wax.
Empty the water from your vessel and dry it thoroughly. Like, totally go at it with the tea towel.
Now you need to measure your fragrance volume. I bet you’re thinking this is a darn sight more complicated than you thought it would be. Stay with me people! A good quality wax can hold around 12% fragrance. I’ve been informed 10% is a good easy guide to start with as it makes the calculation easier.
Total candle volume: 450g
10% of 450 grams is: 45g of fragrance or essential oil. That means the total wax you need is 405g. Get it? If not, just buy a damn candle!

Weigh out 405g of soy wax flakes or pellets. Empty your wax into the lovely jug that comes with your kit. Place in melting pot.
Fill your melting pot with one third water around the jug of wax. Turn on melting pot to the low setting and watch as the wax melts. Stir occasionally. Actually, stir a lot, this takes forever and I lost the will to live.
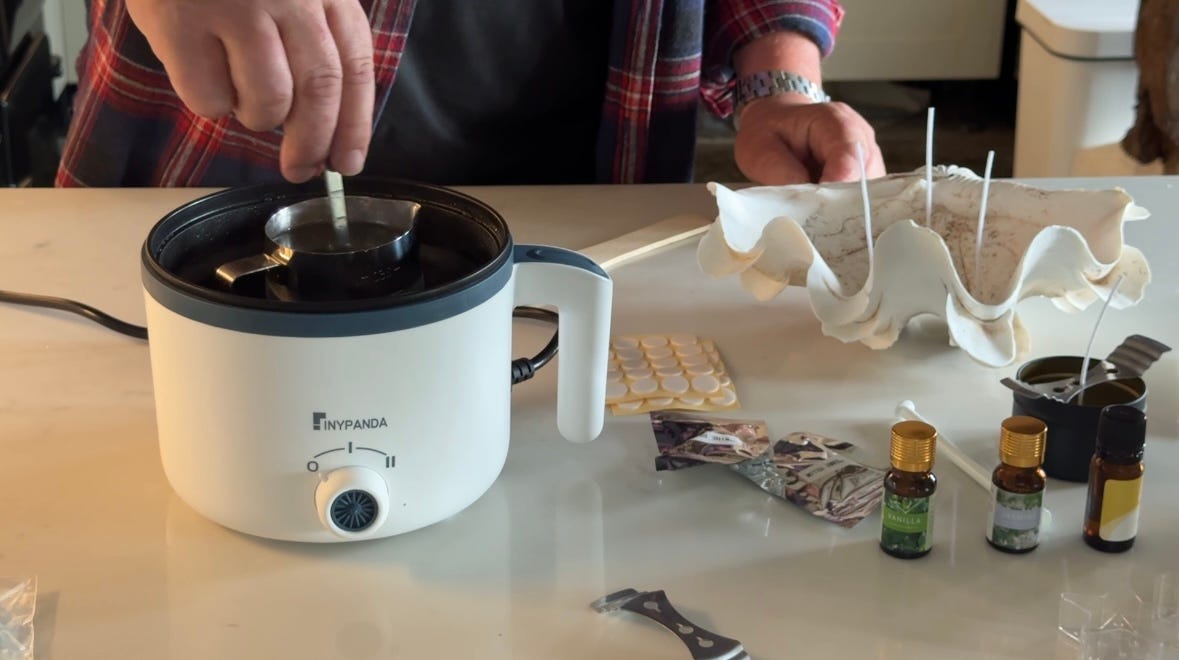
While you’re waiting (place a cheeseburger in the microwave and then scoff like it’s your last meal on earth) stick a candle wick to the bottom of your vessel. My kit came with little double-sided stickers, but you can just use melted wax. Place metal candle wick holder over wick and secure onto top of vessel.

My fashioned three-wick holder If you are using something ridiculous as your receptacle, and had to fashion your own holder, do make sure you left space to be able to pour your wax. I did not do this, and so had to pour the wax without the holder and then faff about like a prized idiot trying to get my fashioned holder onto three wicks, which were flopping all over the place like a leaky garden hose. Lesson learned. More wicks seems like double the fun, but in reality is more double the drama.
Once your wax has melted you need to add your fragrance. Use your temperature probe (in kit) to make sure it has reached 140 degrees Fahrenheit. Add fragrance/essential oil and stir thoroughly.
Pour wax into jar/clam shell slowly. Leave to set overnight and to cure for around two weeks. Wait impatiently, and decide to light after four days. Trim wick to around 4-7mm. Light, luxuriate and relax. Phew!
Thank you all so much, you absolute devils, for all your support. Luv ya! Do leave a heart 🩷, a restack 🔄 and a comment 💬 if you have a moment.

Me and my daughter made keepsake candles for her baby shower. It was fun and they smelt great.. but haven’t tried it again after declaring that I was going to be the next major candle brand..her twins are nearly 9 now 😂😂😊
That’s great to use the clam !! Love that idea . You are the best for candle advice ..I only buy lower lodge and did chuck all the Yankees out ! Well saved the new ones to gift back ! 😂😅