For reasons beyond my control my Sunday post is today instead. Hope that’s ok. Xx
This is a free post for all to read and I hope you enjoy it. If you’d like to get the full experience and be able to read, watch & listen to all my posts, plus be able to join our lively community, then you’ll need a paid membership for that.
I don’t like Halloween. There, I’ve said it! But the other thing I just really can’t be arsed to do is carve pumpkins. I don’t enjoy it, it’s very messy and it means that the pumpkin can’t be eaten after the season because it’s all dried up, although you can leave it out for the birds and other wildlife if you smash it up a tad.
But, styling up my home for autumn and decorating with pumpkins, fall leaves and the obligatory dried dead crap, is one of my favourite things on earth. Halloween doesn’t have to be all ghosts and ghouls. I tend to base my displays on harvest, erring toward the prettier, more serene side of the season. I’m more of the Gabriel Oak of Halloweens, stuck in a Thomas Hardy novel, faffing with sheep, bringing in the harvest and moaning about the price of seed while I slurp on pumpkin soup. Everyone loves a touch of romantic whimsy, so that’s my bag.
Last year I showed you quite a few natural pumpkin decorating ideas and I have included them here, along with this year’s new offerings for you to try. In the past I haven’t been quite so eco-friendly, painting and gluing real pumpkins, that then can’t be eaten afterward. Times have changed and it’s more important than ever that we try to help our planet as well as not waste food in such difficult financial times. So, where I have used real pumpkins, this time I have made sure I have used a homemade food-grade glue, which can be washed off so that you can still eat the pumpkins. They are food after all! By the way, I’m also planning a little post on a few recipes for American Thanksgiving, which will include some pumpkin ideas.
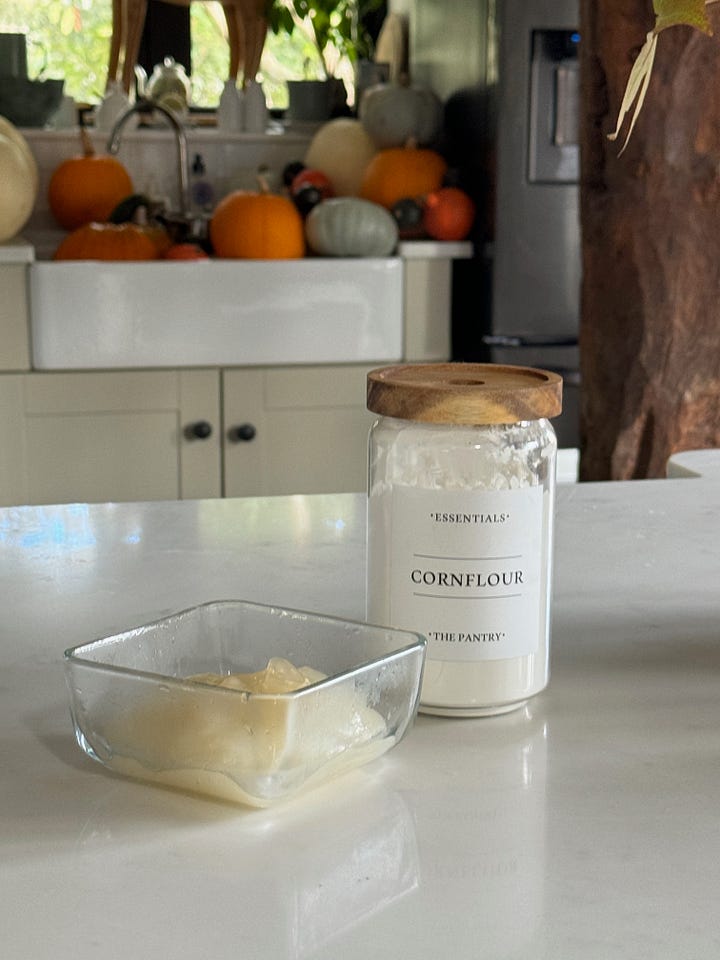
Homemade Glue
For the glue you will need:
350ml (1 1/2 cups) water
1 teaspoon of vinegar
2 tablespoons of honey
2 tablespoons of cornflour
Mix 3/4 of the water, all the honey and vinegar together in a saucepan and bring to the boil.
Mix the cornflour and the remaining water together in a separate bowl.
Slowly add the cornflour mixture to the pan. Stir and bring back to the boil for one minute.
Remove from the heat and allow to cool. Store in a sealed container in the fridge. It lasts for about a week. You might need to reheat before using it if it’s taken straight from the fridge. You may also need to thin it with warm water, particularly for gluing the pressed flowers and leaves.
Natural Pumpkin Decor
I’ve split this into three different types as one uses dried non-pressed flowers and grasses, one uses only pressed flowers and leaves and the other uses fresh leaves from my garden.
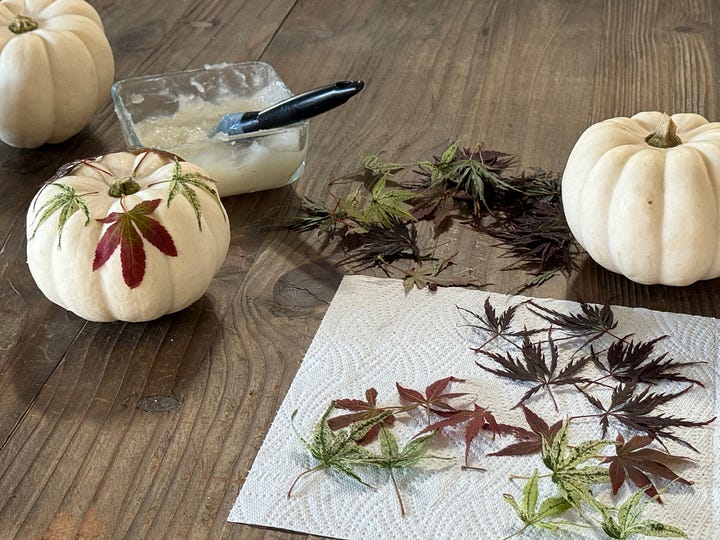
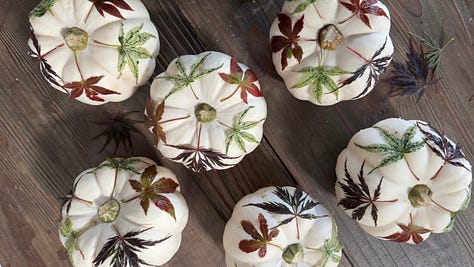
Pumpkin Decoupage Using Fresh Leaves
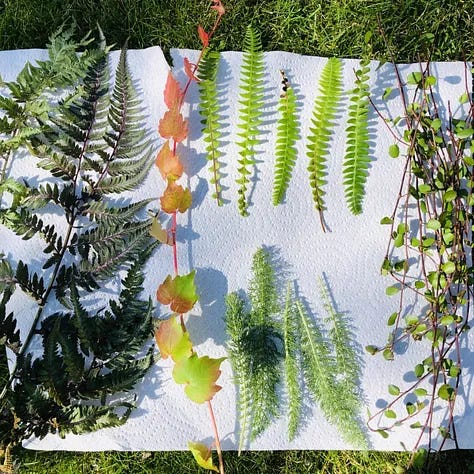
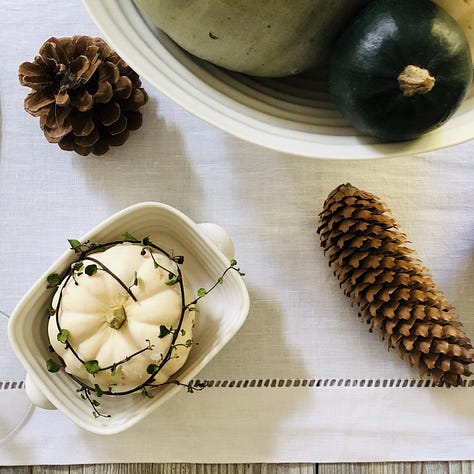
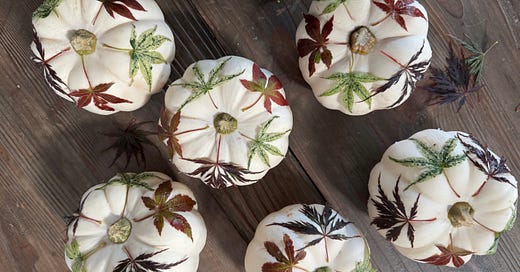
The art of decoupage is decorating something using pieces of paper, glue, paint and other decorative paraphernalia. Decoupage is the perfect choice for pumpkin decorating. I won’t be using paper though. Instead, I’m going to be using natural leaves that I picked from my garden. In the past I have chosen fern leaves of various shapes and Muehlenbeckia stems. The latter has the tiniest little green delicate leaves on black stems. This year I’m using tiny Acer leaves also from my garden, but I have included past photos for you to see them all.
On the 23rd October I’m going to be publishing an autumn table styling post and giving you some of my top tips. You might want to try your hand at these little pumpkins because I’ll be using them for my harvest table.
Don’t pick leaves that are too large, remember you are decorating mini pumpkins. The other tip I would give is to try and place the leaves on the flat parts of the pumpkin flesh, rather than the indents. These are quite time consuming, but I find it therapeutic. Put on some music, make a cuppa, or pour yourself a glass of something fabulous and just chill out.
You will need:
A selection of real mini white pumpkins
A selection of small leaves
Your home made glue
A craft brush/small paint brush/pastry brush
Kitchen towel
Patience
Make sure your leaves are dry by patting them with kitchen towel to absorb excess moisture. Take one leaf and turn it upside down onto a sheet of dry kitchen towel. Use your small brush to apply your glue to the pumpkin first, if that’s easier for you. I applied the glue direct to each leaf. Using your fingers or tweezers, place each leaf onto a white pumpkin, with one end of each leaf facing the central stork. If you’re using a vine like the Muehlenbeckia, then you can go free-style.
Now, brush the glue over the leaf again. Use the craft or painting brush to firm down the edges of the leaf. Continue like this until you have covered the pumpkin. If I could give one little tip, then it would be that less is more! Leave to dry and then style to your hearts content!
Non-pressed dried flowers and grasses
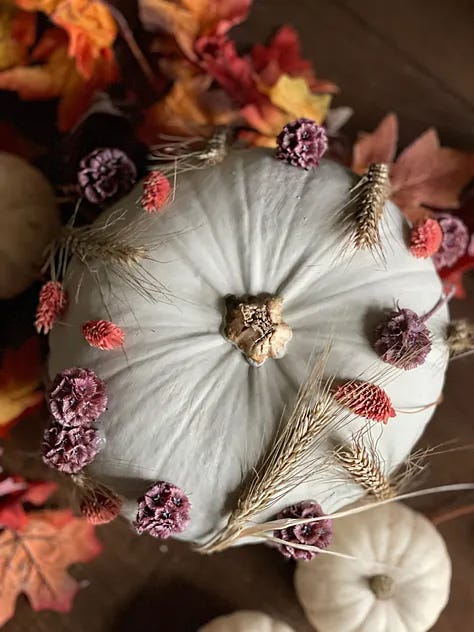
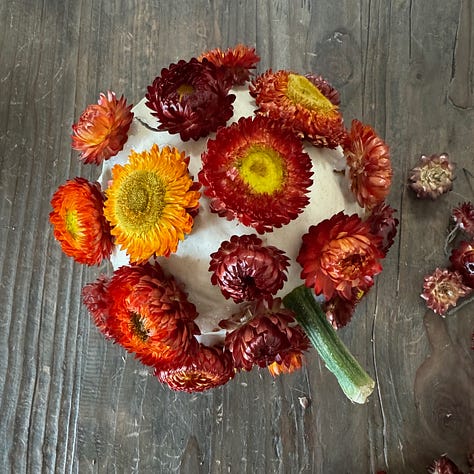
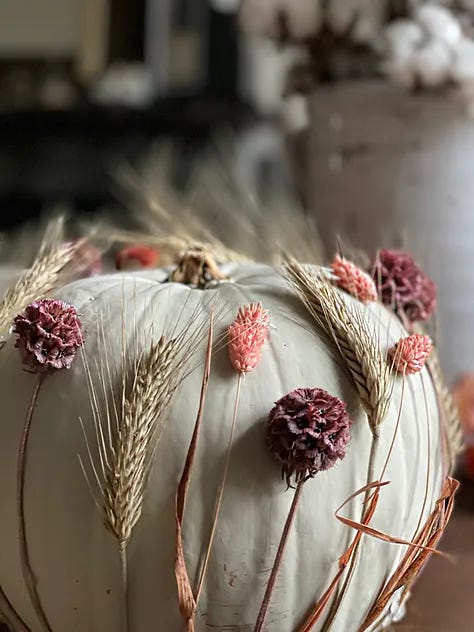
These are so easy to do and give a real country feel to your autumn decor. In this year’s version I’ve used up the straw flowers I had that I used for the autumn wreath to give a white pumpkin a kind of polka dot effect. I’ve also included last year’s, where I tried to create the feeling of a flower meadow, or the grassy edge of a cornfield set aside for the bees. Gluing the flowers on can be a bit fiddly, but it’s not at all hard. I would dab some glue to the back of each flower or grass head as well as brushing liberally over the pumpkin first too. Can’t wait to see yours!
Here’s what you’ll need:
A medium sized pumpkin, preferably white with a stalk.
A mat or newspaper to do it on.
Your home made glue.
A selection of dried flowers and grasses. I bought mine from my local florist.
A pair of scissors.
Take your scissors and cut the stems of the dried straw flowers off so that they can lie flat.
Then take your home made glue and whimsically start to glue the dried flowers onto the pumpkin. Continue around the pumpkin till you’re done. That’s it, fabulously stylish pumpkins that will be the envy of all your friends.
Pressed dried flowers and leaves
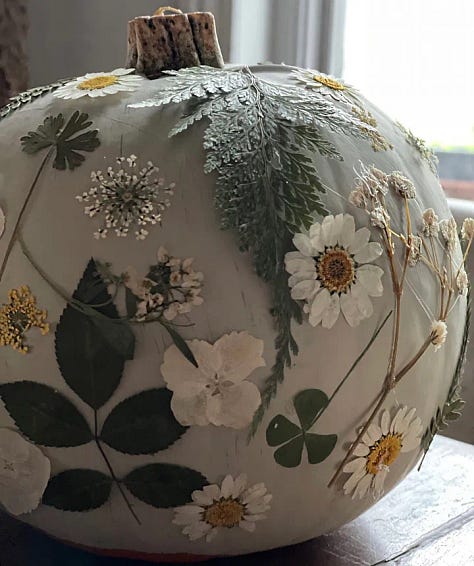
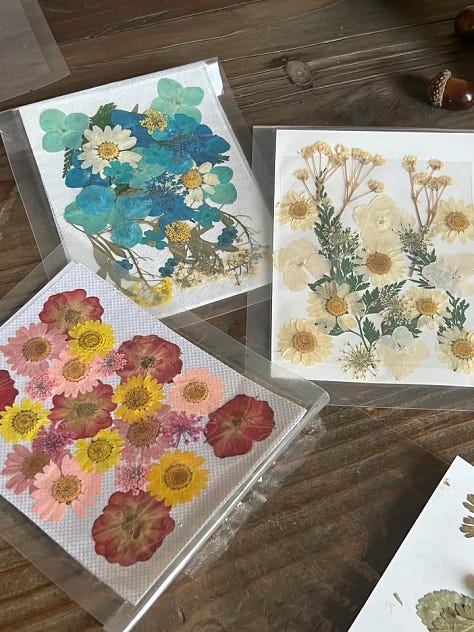
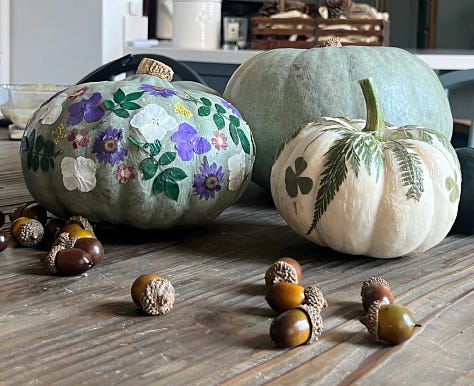
This is actually my favourite pumpkin design technique. I used pressed dried flowers and leaves, which I bought online. With this one you can go totally freestyle and knock yourself out with your crafting wizardry! These have a more botanical feel and remind me of my grandmother who used to collect flowers from the wild and then press them. She’d then use them for decorating cards, christmas crackers and bookmarks. I remember as a child begging for a flower press for Christmas instead of a cowboy outfit. I did also ask for a Girl’s World and a Barbie, but I think I was pushing it, certainly for the ‘70s at least. The flower press appeared on the big day, but not the latter two – meanies!
You will need:
A medium pumpkin. I used a Crown Prince variety as I love the blue-green colouring.
A selection of dried pressed flowers and leaves.
A mat or newspaper to work on.
The food-grade glue.
A paint brush for painting and a small brush for dabbing the flowers onto the pumpkin and also a flower tweezer, which usually comes with the pressed flower kit you buy.
I found it easier to brush the home made glue liberally over the area of the pumpkin that you wish to decorate first. Then, using the tweezers, or if you don’t have them, very carefully with your fingers, apply each dried pressed flower or leaf individually. With a small brush, or even a pastry brush, paint the glue over each flower to secure them. It will look shiny, but will dry to a matte finish. Then simply glue your troubles away using the pressed flowers. Hours of fun to be had here!
That’s it for now folks. Hope you enjoyed this week’s craft ideas. There’s so much more to come over the coming weeks and months. Have the best Sunday everyone.
As ever, if you enjoyed this post, then please do it’s so leave a heart ♥️, a restack (that’s the recycle symbol below) and/or a comment. It’s makes sure this post is seen by new people. Thank you so much! Xx






Wonderful and inspiring JP. I loved pumpkin carving when my daughter was a little 'un and nothing went to waste as we made delicious soups and stews with the innards. I love the phrase, glue your troubles away, sooo perfect for this mindful activity. Thanks for the edible glue recipe. I love the leaves and pressed flower pumpkins so much. And, of course the dead crap, so my cup of coffee. Thanks, JP.
I don’t like Halloween either, but I could deffo get on board with autumn decor!