

How To Make Your Own Lampshades
A easy step by step guide, including a video. You just need to provide the patience!

Welcome to Home & Hort. If you love a mix of interiors, gardening, DIY, lifestyle posts, crafts, vintage finds, the seasons, and like a good old honest chat and a giggle every now again, then you’re in the right place.
This post has many photos and may be too long for your email. Click on ‘view entire email’, or read in the app, or your browser.
Hey there friends, I’m back with my second ”how to” guide for this week. I’m busy with the in-laws staying, so I thought another useful guide might be good, and so many of you won’t have seen it before.
If you follow on Instagram, then you may remember the little reel I made a few years ago, which is at the end of this post.
This, however, is the full step by step guide for making your own lampshades, which I have re-written and updated since it first graced my old blog page and became one of my biggest hits on google.

How it all started
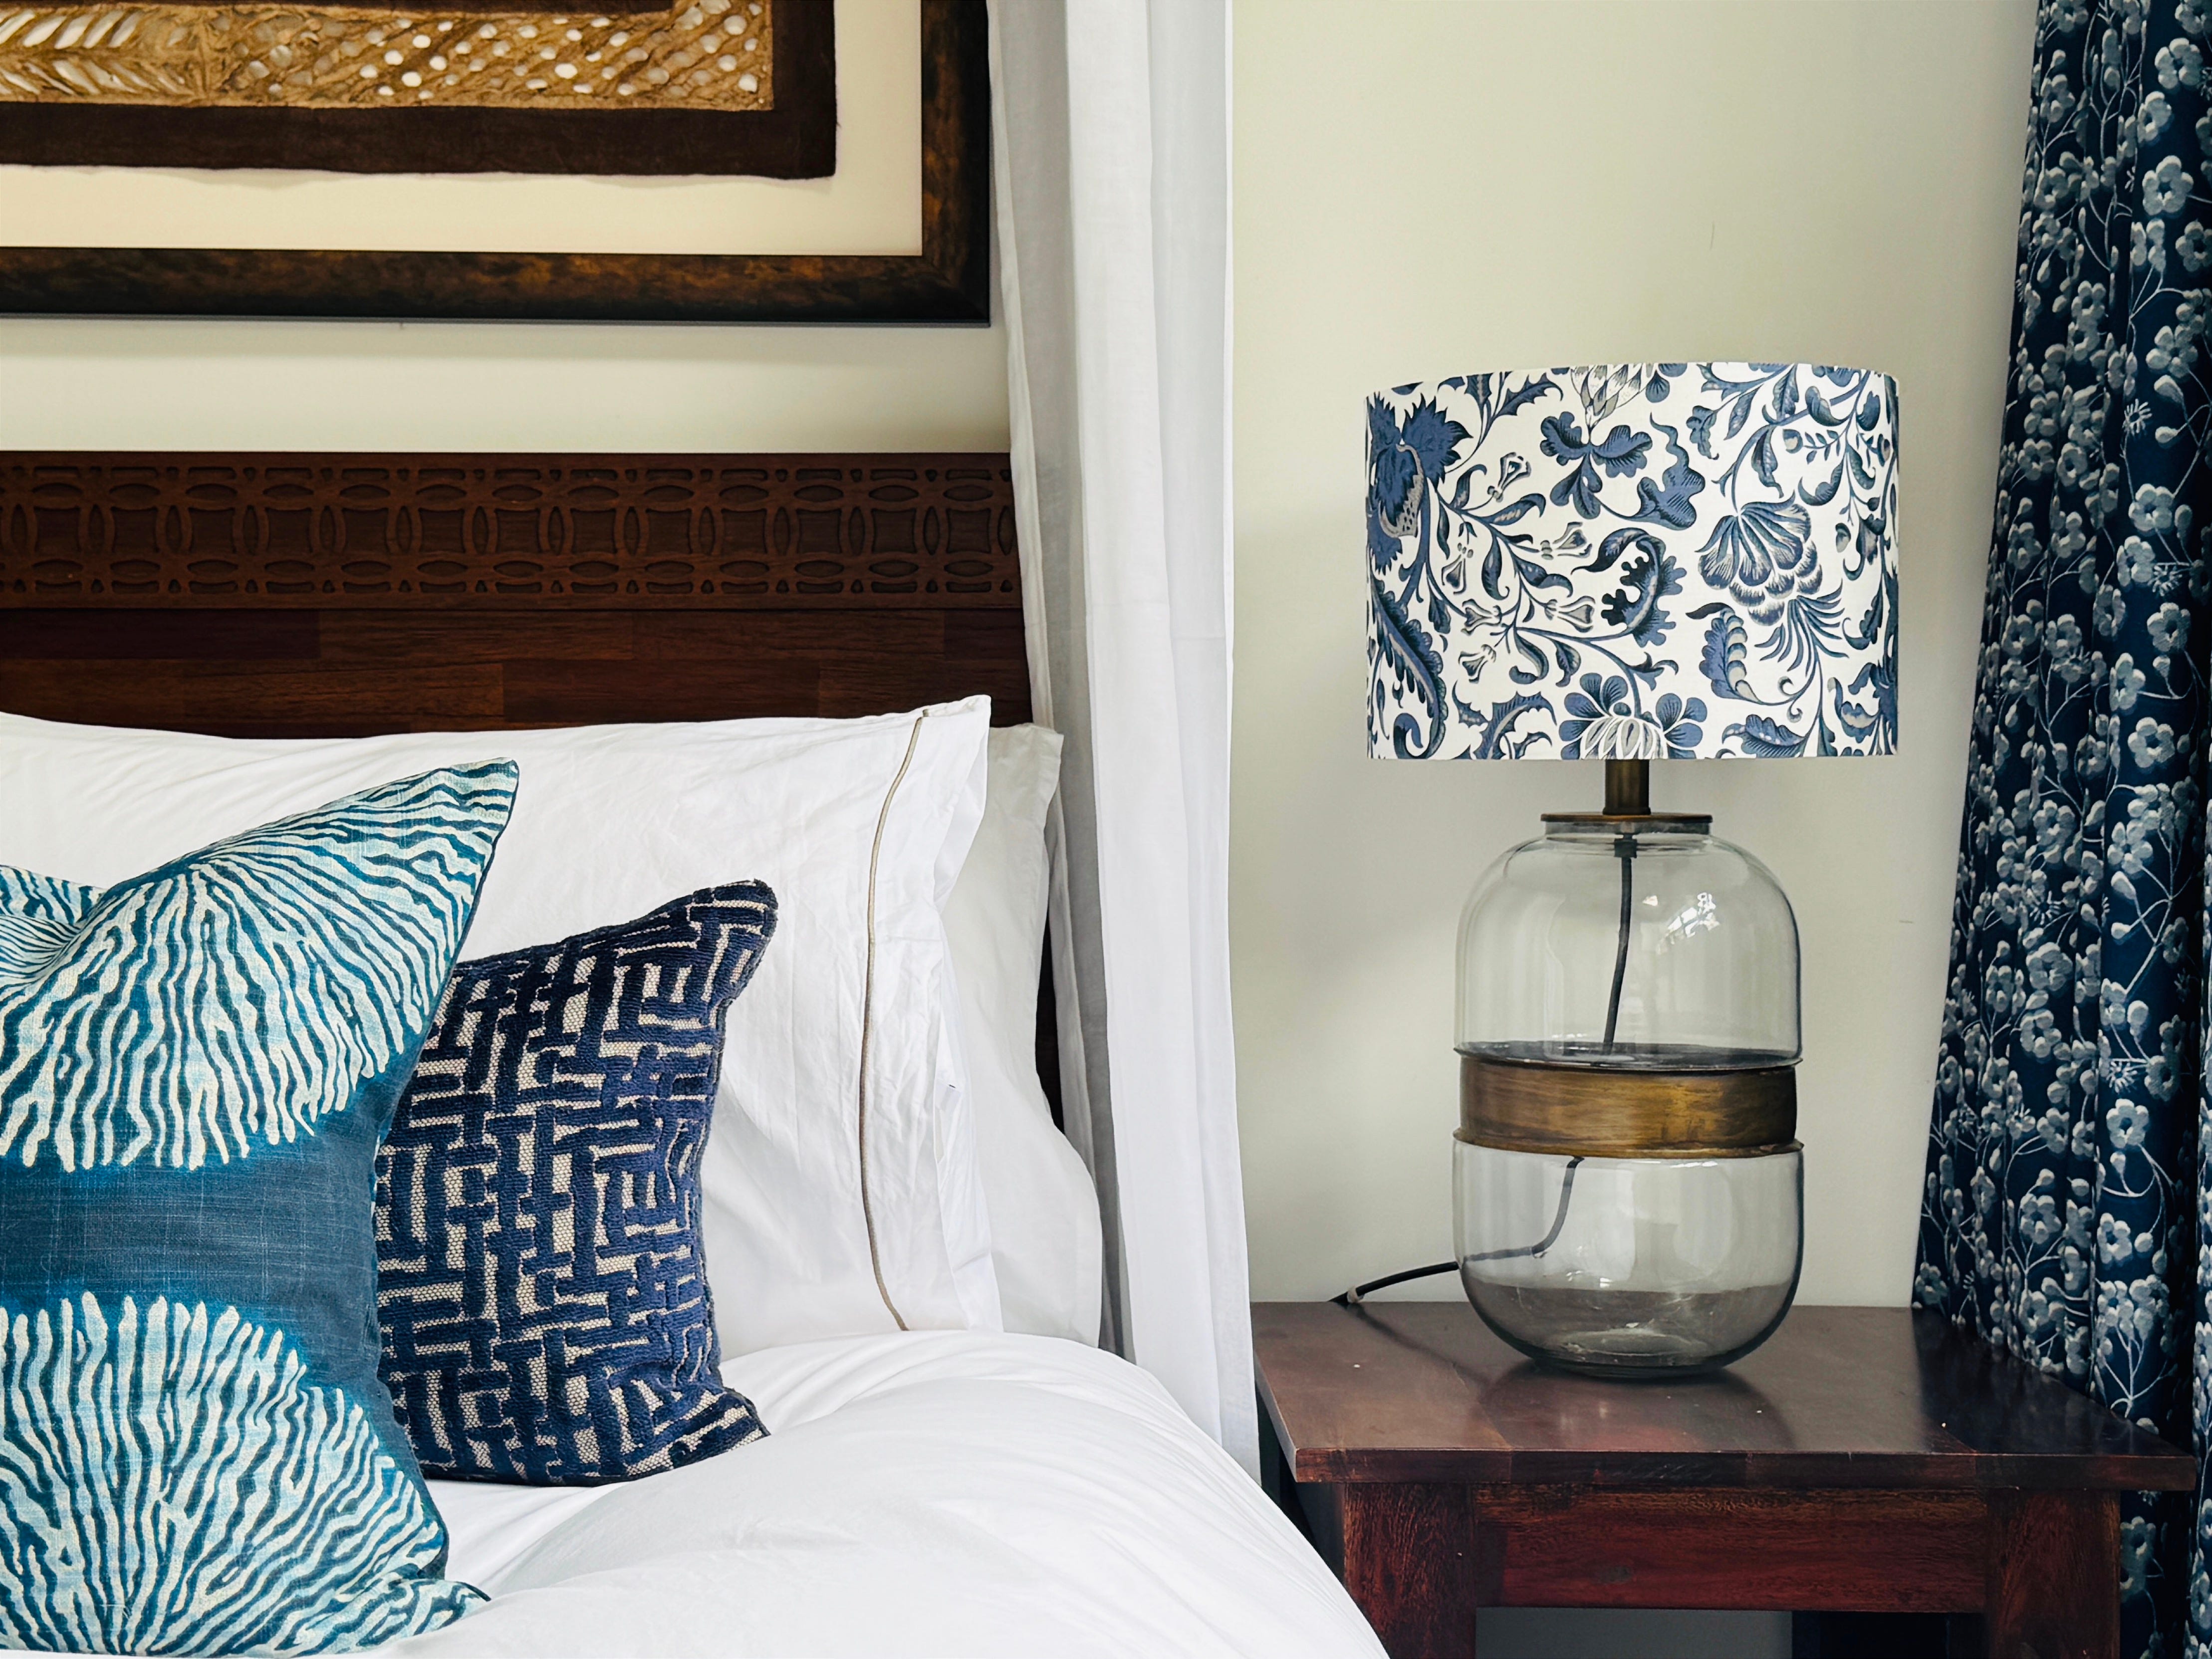
The master bedroom design in our last home all started with a framed original piece of a blue and white William Morris & Co fabric, which formed the centrepiece above the bed. I always start a design with one item in mind, and then build upon it.
I wanted two lamps either side to have shades that picked up the William Morris pattern, but in a more contemporary way. I’d seen the perfect shades. The only problem was they were over £80 each and my budget just couldn’t stretch to that for two 30cm drum lampshades. So, what to do?

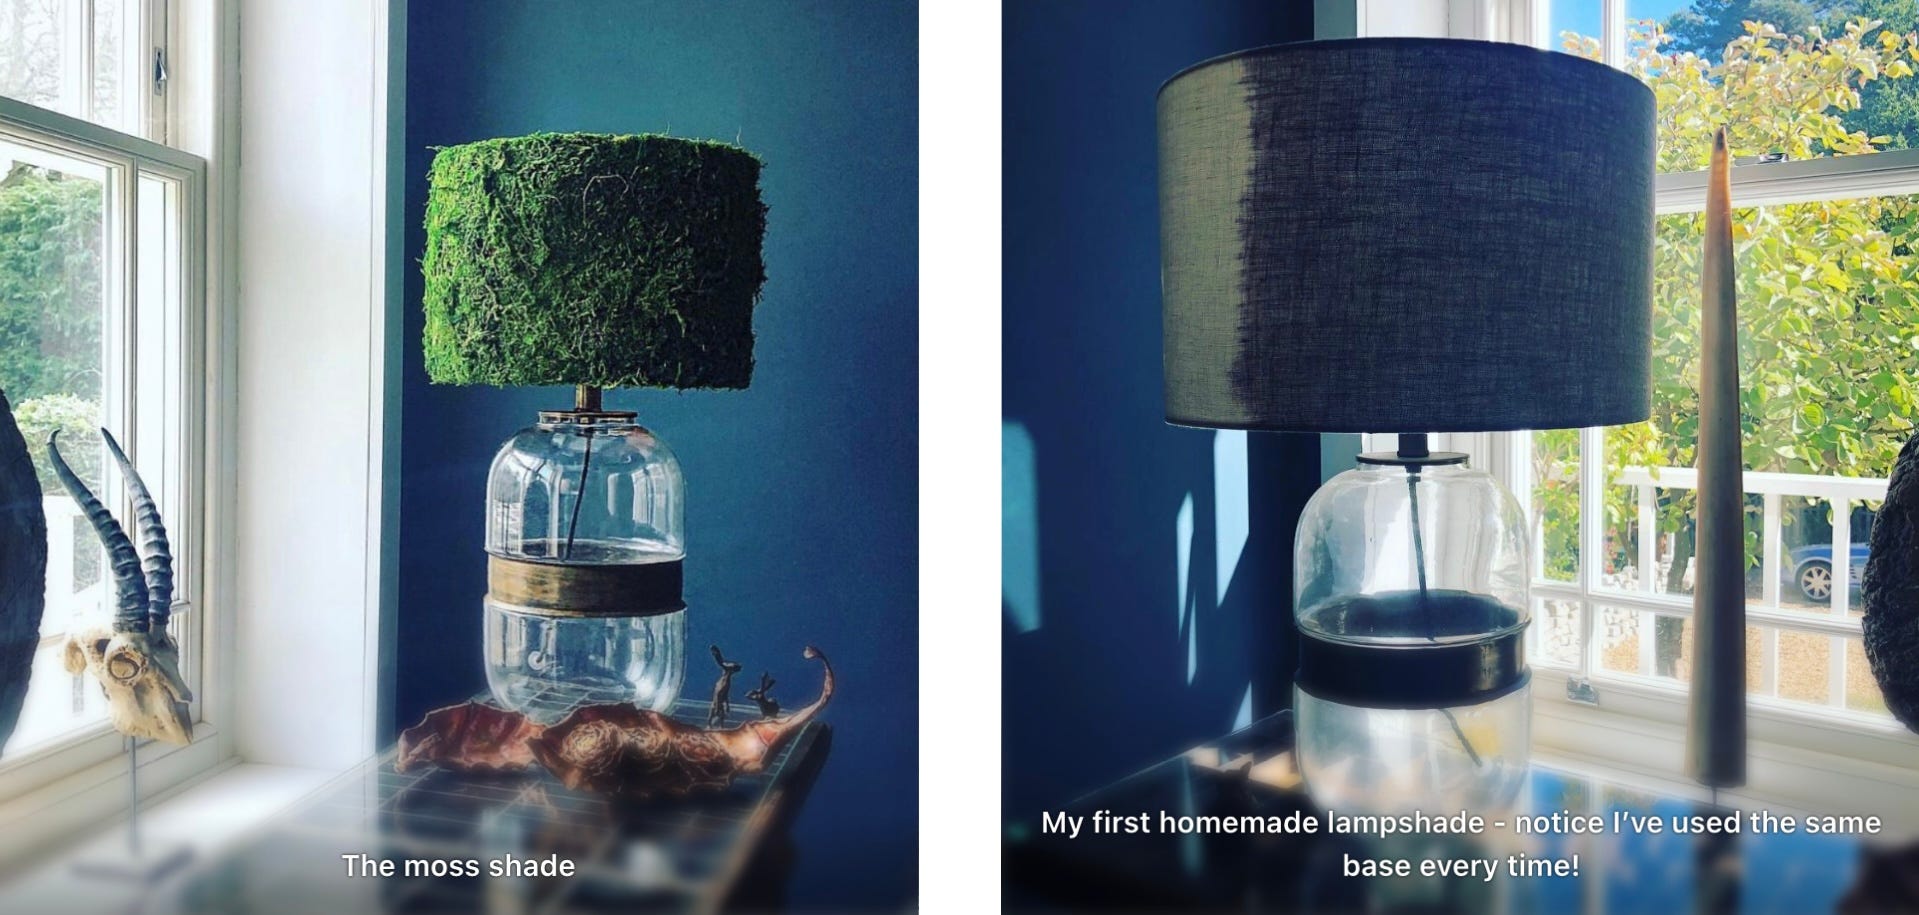
I’d already had a little experience of creating my own lampshades. I made some for our weatherboard home using material I’d bought on holiday. I also made some crazy moss-covered lampshades for an RHS stand, using rolls of faux moss. I know, they were insane! So, I just thought why not? I can make them again and so can you.
I must warn you though, there are moments when you’ll wish you had never started. Parts of the process are super fiddly, but it’s still a lot of fun, and the sense of satisfaction at the end is quite something.
To watch the video demonstration and read the full step by step guide you’ll need to be a paid member. You can upgrade here: